
You can buy excellent cameras and still end up with footage you can’t use — because where a camera goes, and what it’s built to handle, matters as much as its specs. An outdoor camera facing the wrong way at noon, or an indoor one mounted where it’s easy to knock askew, won’t earn its keep. This guide covers the real differences between indoor and outdoor cameras and where to put each, from the perspective of a New York integrator who plans these layouts on site.
Indoor vs. Outdoor Cameras — Key Differences
The split isn’t just where a camera sits; it’s how it’s engineered to survive there.
Weatherproofing (IP ratings)
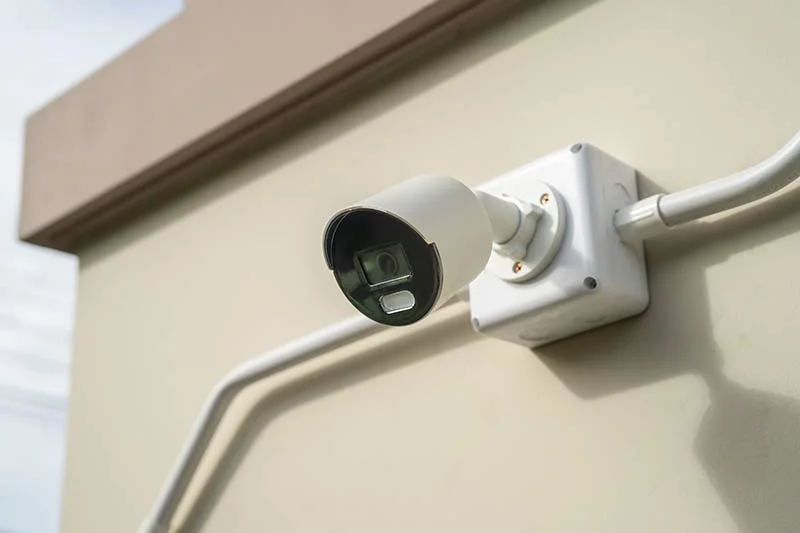
Outdoor cameras have to shrug off rain, snow, dust, and temperature swings, and that durability is measured by an IP (Ingress Protection) rating. Look for IP66 or IP67 on exterior cameras — sealed against dust and capable of handling heavy water.
In New York, that rating isn’t a luxury: a camera mounted outdoors faces driving rain, summer humidity, and a freezing, wet winter, and an indoor-only unit won’t last a season out there. Indoor cameras skip this protection, which is part of why they cost less.
Vandal resistance (IK ratings)
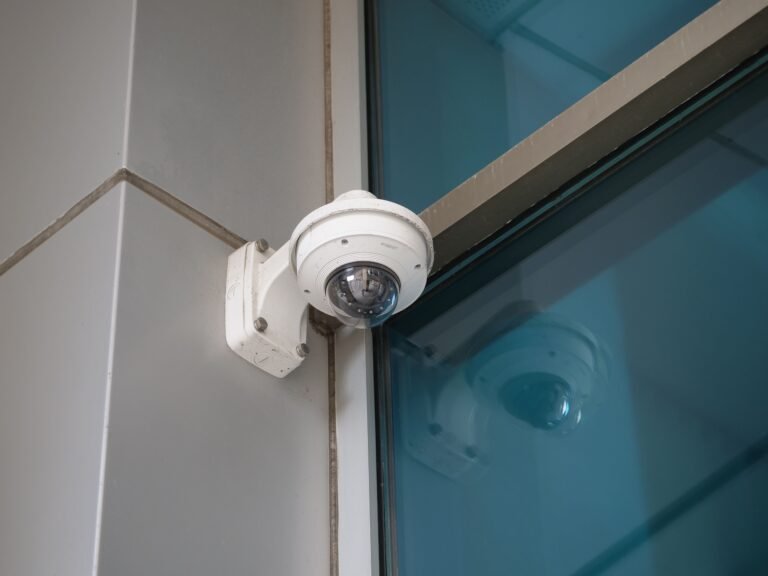
Cameras within reach — near an entrance, in a stairwell, on a low exterior wall — are targets for tampering. An IK rating measures impact resistance, with IK10 being the toughest common grade, built to take a deliberate hit. Vandal-resistant dome cameras are the usual choice for spots where someone could reach up and try to knock a camera out of position or smash it. The more accessible the location, the more this matters.
Lighting and IR / night vision
Light is where many cameras quietly fail. Outdoor scenes swing from glare to near-darkness, so exterior cameras lean on infrared (IR) or other low-light technology to keep producing usable footage after dark.
Indoors, lighting is steadier but not always good — a camera staring into a bright window or backlit doorway will silhouette everyone who passes. Matching a camera’s low-light ability to the actual lighting of its spot is part of placing it well.
Where to Place Outdoor Cameras
Outside, prioritize the points where people and vehicles enter and move:
- Entrances and gates: every exterior door and gate, angled for a clear, face-level identification shot.
- Perimeter and fence line: wider coverage to track movement around the building.
- Parking areas and approaches: the lots and the routes into them.
- Loading docks and delivery points: where goods and vehicles come and go.
Entrances are identification shots; perimeter and lot cameras cover wider ground to track movement. Cover the ways in first — those are where footage matters most.
Where to Place Indoor Cameras
Inside, focus on entry points, high-value zones, and the paths between them:
- Lobby or reception: just past the front door.
- Every register or POS station: where cash changes hands.
- Main hallways and corridors: the routes through the space.
- Stockrooms, server closets, and valuables: anywhere worth protecting sits.
The interior side of each entrance is worth a camera too, so you have a clean view of people once they’re indoors and well-lit. The goal is a path you can follow on video from the door through the space, with the cash and the valuables covered along the way.
To make it concrete: a typical Brooklyn storefront might run an IP66-rated bullet over the front entrance angled for faces, a vandal-resistant IK10 dome just inside the vestibule, a camera on each register, one down the main aisle, and a weatherproof unit covering the rear delivery door and a slice of the back lot. Each camera is chosen for where it lives — sealed and impact-rated outside, lighter-duty inside — and aimed for the specific job it’s doing. That’s the difference between a handful of cameras and actual coverage.

Mounting Height and Angle Best Practices
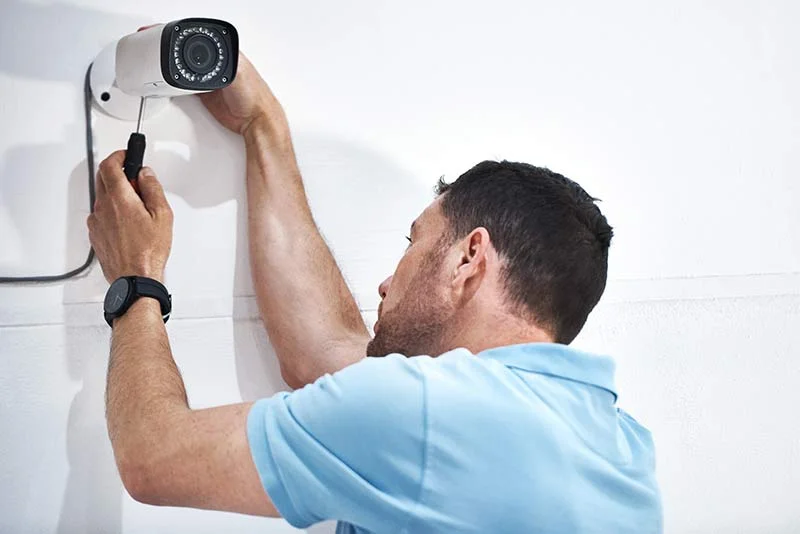
How a camera is mounted decides whether its footage is usable. Mount high enough to be out of easy reach and to take in the scene, but not so high that faces shrink to useless specks — roughly 9–10 feet is a common balance for many commercial cameras, high enough to deter tampering while still capturing identifiable detail.
Angle the camera down across the area it covers, and keep strong light sources out of the frame so subjects aren’t backlit. A camera aimed too steeply sees the tops of heads; aimed too flat, it gets blinded by glare and covers less ground.
Placement Mistakes That Create Blind Spots
A few recurring errors undo otherwise good systems:
- Gaps between cameras: especially at corners and where two coverage areas should overlap — blind spots form right where incidents happen.
- Facing a bright window or open doorway: backlights everyone who passes.
- Mounting within easy reach: invites tampering.
- Overview where you needed to identify: footage that shows something happened without showing who.
More cameras rarely fix these; thoughtful placement does.
A Few Tricky Spots — and a Privacy Note
Some locations need extra thought:
- Stairwells and elevators: common blind spots that get skipped, yet exactly where people move unseen — both can be covered with the right camera and angle.
- Parking structures: low light, large areas, and vehicle traffic call for cameras built for the conditions, placed at entrances, exits, and stair landings.
One consideration cuts across all of this: privacy. Aim cameras at your own property and the areas you have a legitimate reason to monitor, and avoid pointing them into a neighbor’s windows or other private spaces. Posting clear notice that recording is in use is good practice, and in shared or multi-tenant buildings it’s worth coordinating placement with the building and other tenants.
Covering what you should — without overreaching into what you shouldn’t — is part of a placement done right.
How 4Wires Plans Placement on Site
Good placement comes from walking the property, not guessing from a floor plan. 4Wires Communications plans camera layouts across the New York metro by tracing your sightlines, matching weatherproof and vandal-resistant cameras to where they’ll actually live, accounting for the lighting at each spot, and setting mounting heights and angles that capture usable detail. The result is full coverage of your entrances, perimeter, and valuables — with the blind spots designed out before a single camera goes up.
Planning where your cameras should go? Learn more about our security camera installation services, or reach out for a free on-site assessment.